I had planned to have a Yellow Orange initially, but as Phoon had already settled with that colour on his Modena, I think I would go for the Black colour. Black should be the easiest color with almost 0% error when you do black....but still almost...
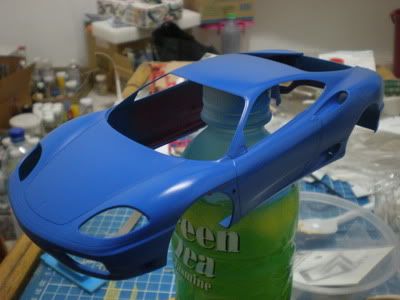
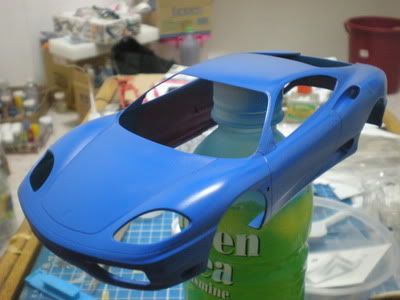
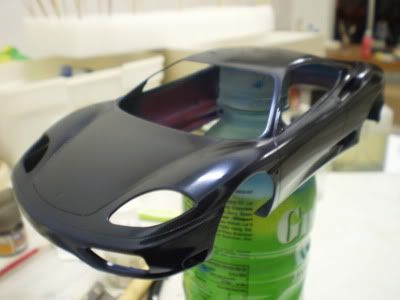
I lay a darkblue base at first.
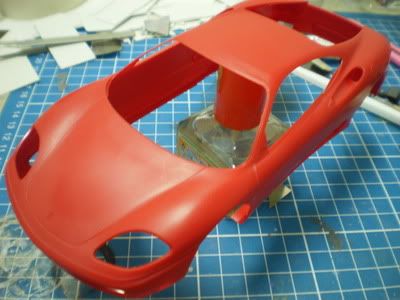
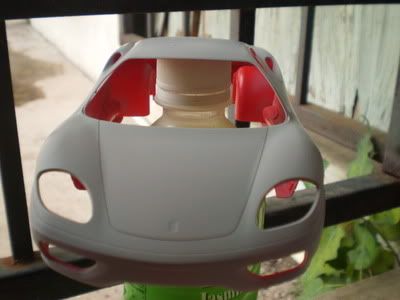
After the colour, I wet sand using a used super fine sanding sponge to remove dust stuck on the paint when spraying so that the surface will not have blemish.
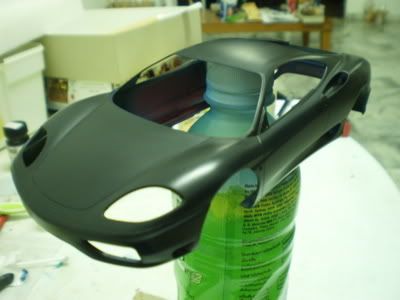
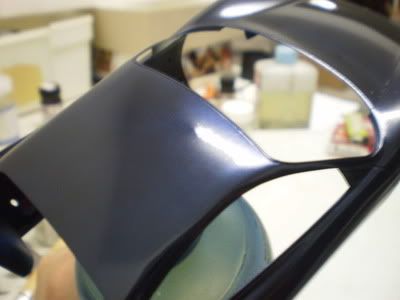
Using Gaia black with a thinning ratio of 1:1.5 with quite a few drops of retarter, I mist spray the whole body twice, to build up the black color.
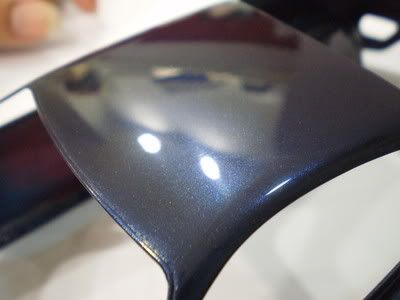
As I was thinking of having a reflective blue effect when I finish this car, I thought of getting some pearl effect on the black surface. Using Mr Color Cystal color Sapphire Blue
The result
As the progress goes on , decal applied and 3 layers of gloss clear wet coats and 2 mist coat in between the wet coats. Started to compound the Modena body,starting with Tamiya Coarse compound and Fine compound ....with a lot of advice from
Entau..
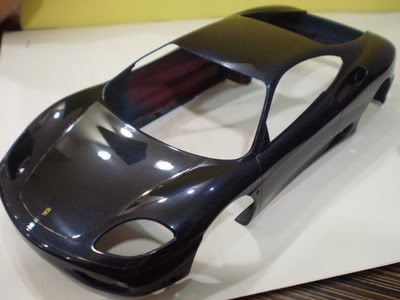
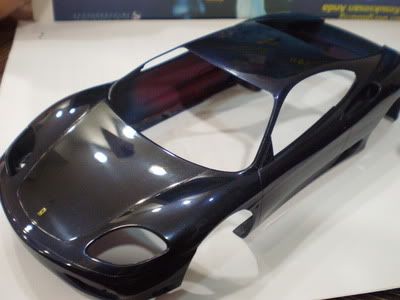
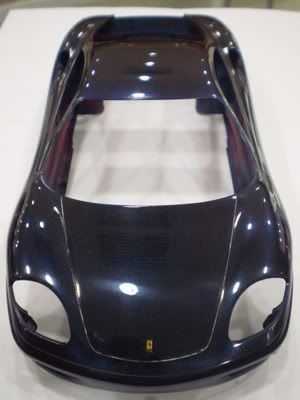
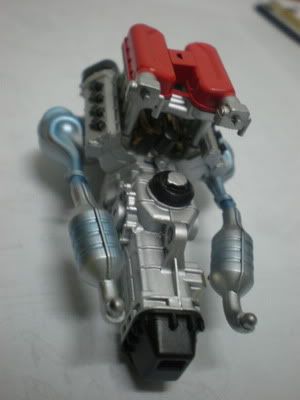
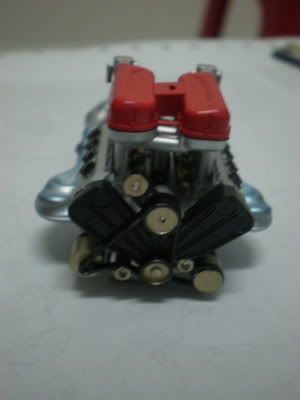
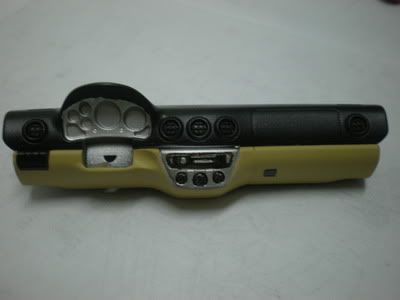
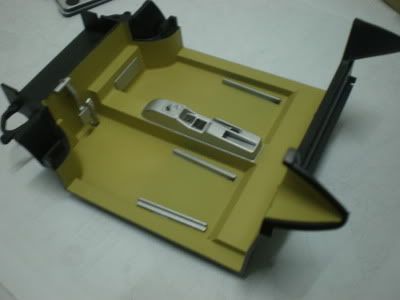
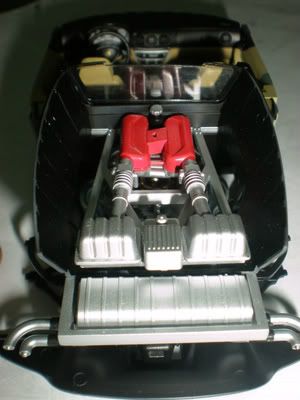
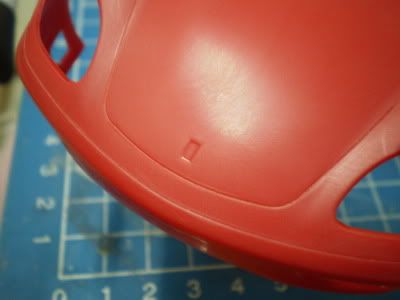
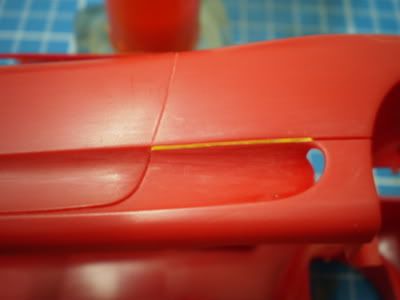
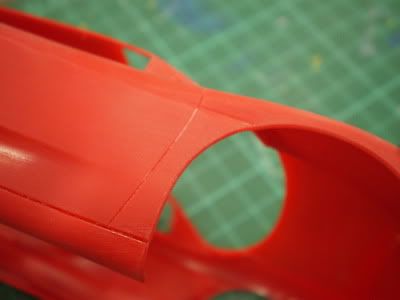
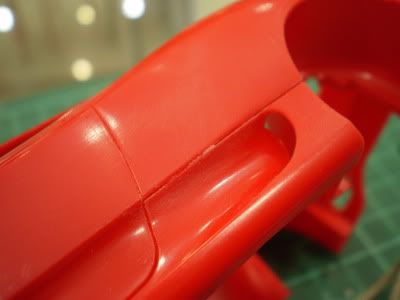
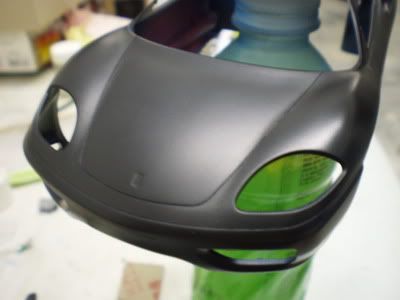
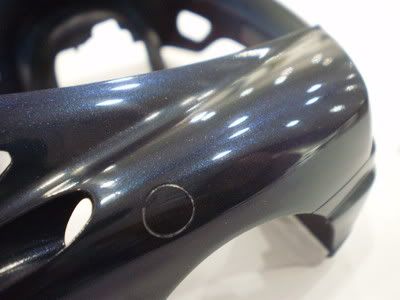
Some close up ...

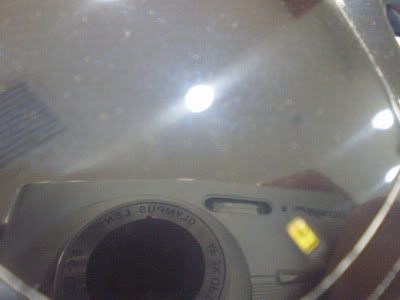
On the last pic. you might had notice there are some gold flakes. This is another major mistake I made during of painting this Modena. There seem to be residue of gold paint hidden somewhere in the Air Brush which I hadn't thoroughly clean.
Hopefully the next update will be the last..gonna wrap this project up very very soon ...