During the final stage of this build, many unforseen problems just pops out one by one due to my noobness.
Picture time
being a total impatient noob, I had used super Glue 502 to glue the headlights which left a lot of froze mark. So have to polish the part to it former glory...notice that the rim had been colored black( as Entau adviced) using a marker pen.
Metal transfer. I just couldn't stracth on the metal transfer. So use a hobbyknife slice outfrom the transparent sheet and applied on with a little help from Mr.502.....once stuck wrongly detaching it caused some paint chipping. Worst is the "Ferrari" on the engine the "a" was torn away on removal.
not sure if the kit or me....but after attaching the side window panel discovered a large gap .....
Sticked cut out aluminium foil to stick ofn the back of the headlight, to increase effect of reflection seen from the front.
Thursday, 22 December 2011
Tuesday, 20 December 2011
Work In Progress 1/24 Ferrari 360 Modena part 5
I had planned to have a Yellow Orange initially, but as Phoon had already settled with that colour on his Modena, I think I would go for the Black colour. Black should be the easiest color with almost 0% error when you do black....but still almost...
I lay a darkblue base at first.
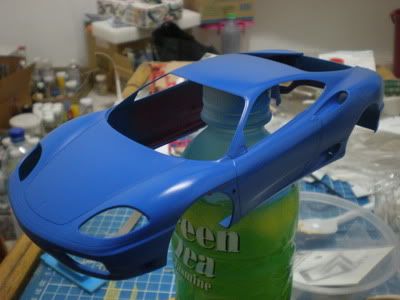
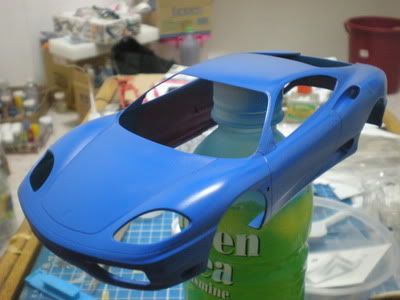
After the colour, I wet sand using a used super fine sanding sponge to remove dust stuck on the paint when spraying so that the surface will not have blemish.
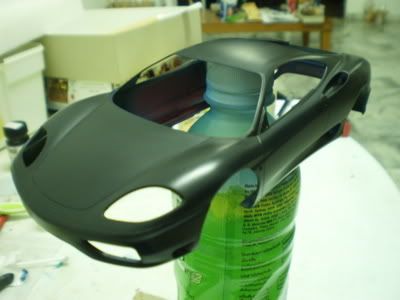
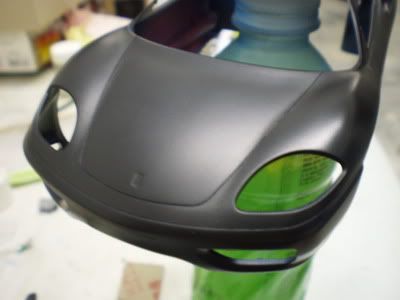
Using Gaia black with a thinning ratio of 1:1.5 with quite a few drops of retarter, I mist spray the whole body twice, to build up the black color.
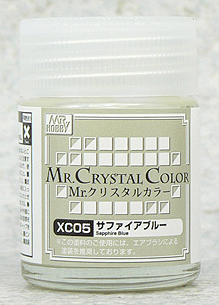
As I was thinking of having a reflective blue effect when I finish this car, I thought of getting some pearl effect on the black surface. Using Mr Color Cystal color Sapphire Blue
The result
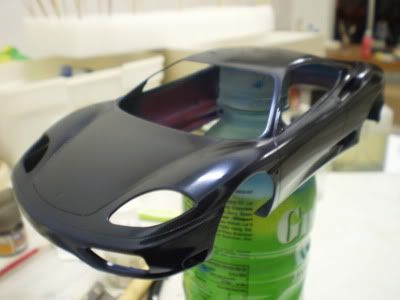
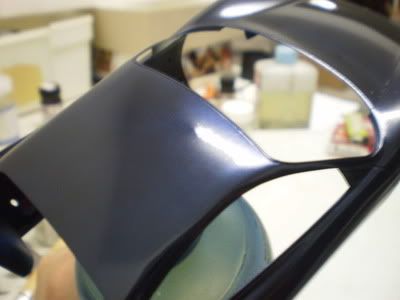
As the progress goes on , decal applied and 3 layers of gloss clear wet coats and 2 mist coat in between the wet coats. Started to compound the Modena body,starting with Tamiya Coarse compound and Fine compound ....with a lot of advice from Entau..
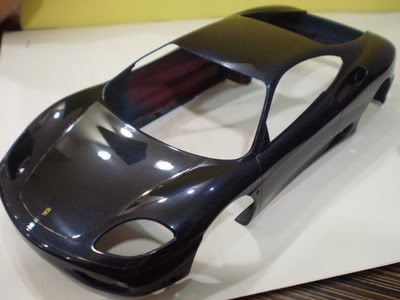
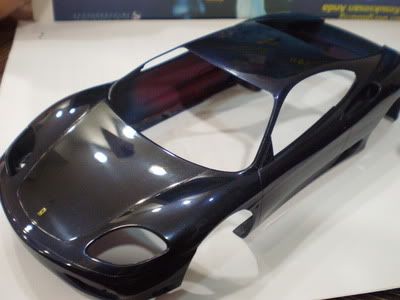
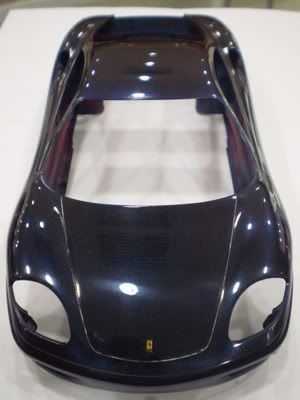
Some close up ...
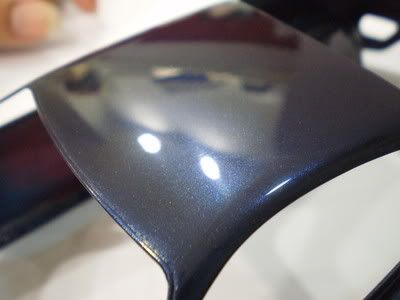
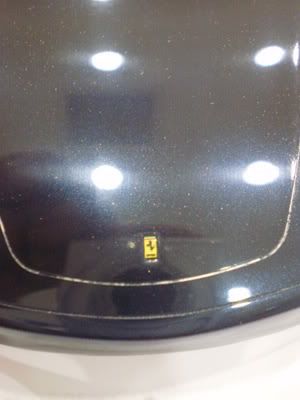
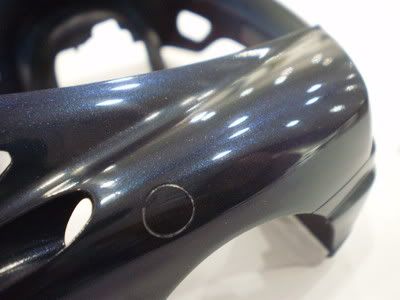
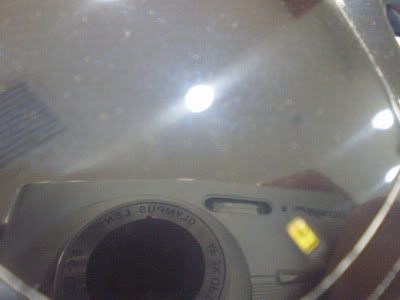
On the last pic. you might had notice there are some gold flakes. This is another major mistake I made during of painting this Modena. There seem to be residue of gold paint hidden somewhere in the Air Brush which I hadn't thoroughly clean.
Hopefully the next update will be the last..gonna wrap this project up very very soon ...
I lay a darkblue base at first.


After the colour, I wet sand using a used super fine sanding sponge to remove dust stuck on the paint when spraying so that the surface will not have blemish.


Using Gaia black with a thinning ratio of 1:1.5 with quite a few drops of retarter, I mist spray the whole body twice, to build up the black color.
As I was thinking of having a reflective blue effect when I finish this car, I thought of getting some pearl effect on the black surface. Using Mr Color Cystal color Sapphire Blue

The result


As the progress goes on , decal applied and 3 layers of gloss clear wet coats and 2 mist coat in between the wet coats. Started to compound the Modena body,starting with Tamiya Coarse compound and Fine compound ....with a lot of advice from Entau..


Some close up ...


On the last pic. you might had notice there are some gold flakes. This is another major mistake I made during of painting this Modena. There seem to be residue of gold paint hidden somewhere in the Air Brush which I hadn't thoroughly clean.
Hopefully the next update will be the last..gonna wrap this project up very very soon ...
Monday, 19 December 2011
Work In Progress 1/24 Ferrari 360 Modena part4
Since this is the second car I m tackling, and I was over confident that Tamiya would (or at least) will fit nicely in everyway during the assembling process..therefore I didn't dryfit the whole car and clipped all the parts for paint job ..(Hopefully fitting is ok later on ) 

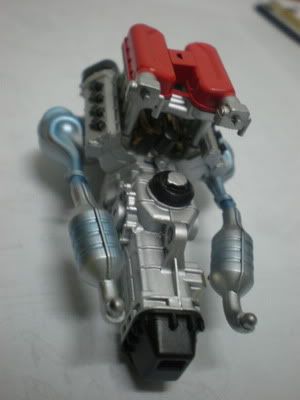
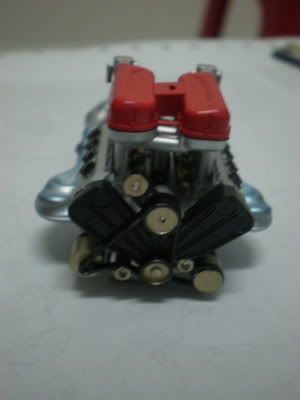
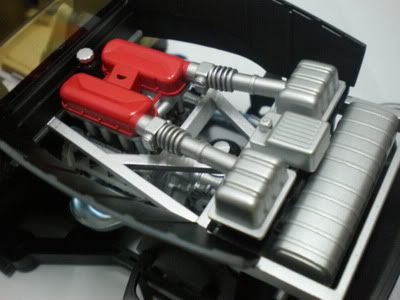
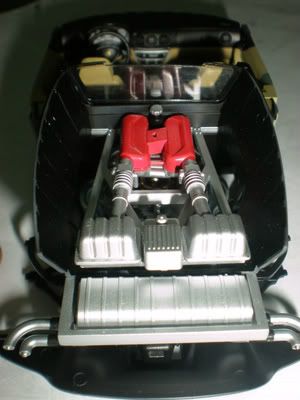
The engine was fun to build. Just that the manual said thepaint recommend is aluminium...I only have silver in my inventories, so what the heck, just proceed with silver instead of Aluminium. Handpainted the gold titanium using enamel....
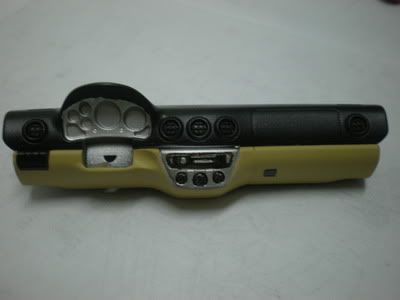
DASHBOARD...mask with tamiya masking tape and masking sol. Painted the radio's details with black enamel
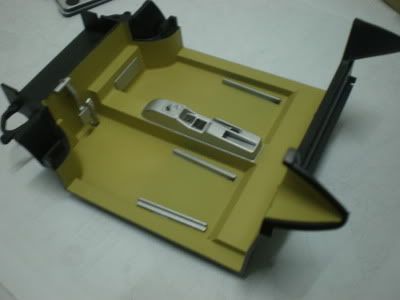
Interior....no flocking powder ....
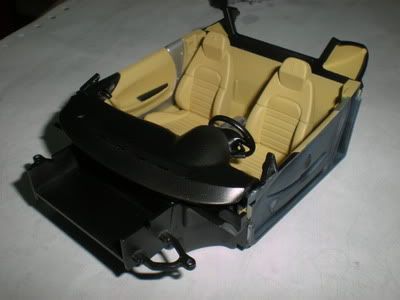
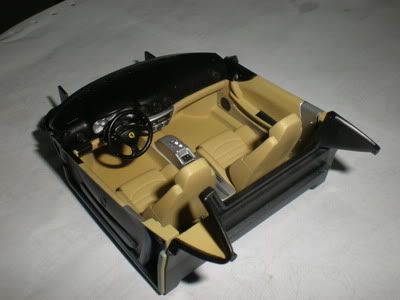
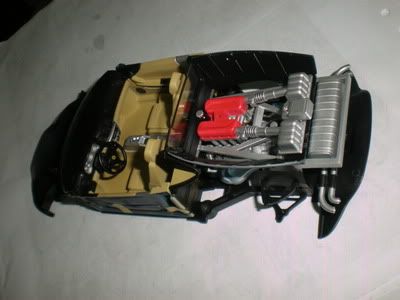
Dryfit the interior and the enginecompartment, so far so good, everything fits nicely.
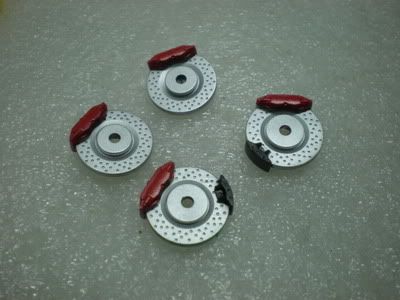
Brake discs
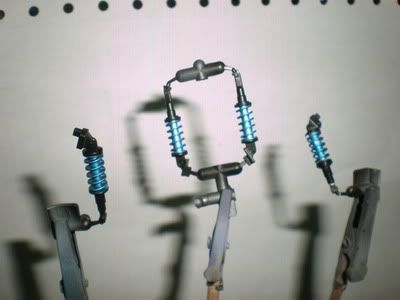
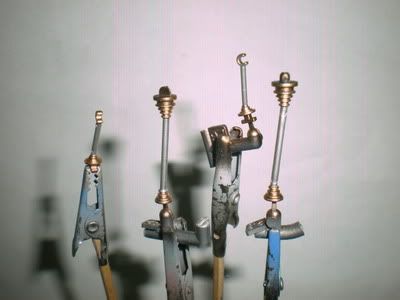
That is all for now.....


The engine was fun to build. Just that the manual said thepaint recommend is aluminium...I only have silver in my inventories, so what the heck, just proceed with silver instead of Aluminium. Handpainted the gold titanium using enamel....


DASHBOARD...mask with tamiya masking tape and masking sol. Painted the radio's details with black enamel

Interior....no flocking powder ....


Dryfit the interior and the enginecompartment, so far so good, everything fits nicely.


Brake discs


That is all for now.....
Work In Progress 1/24 Ferrari 360 Modena part3
Once reach home , rescribe the panel lines using mechanical pencil inserted with sewing needle.
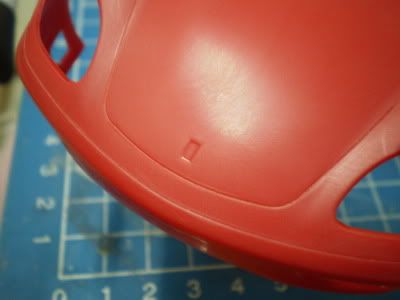
After rescribing ...
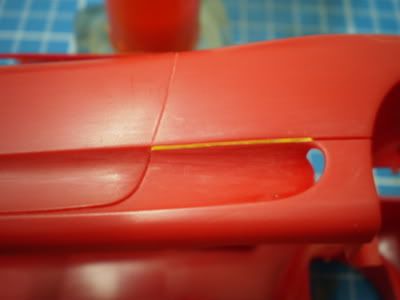
filling up the gap using Mori Mori (polyester putty)
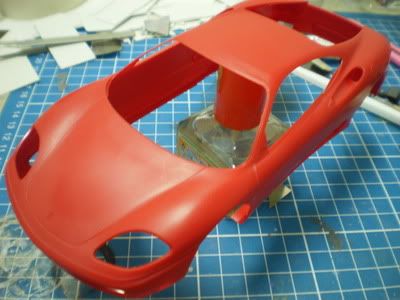
Finalizing and wet sand with micro fine sanding sponge and give the kit a bath before priming
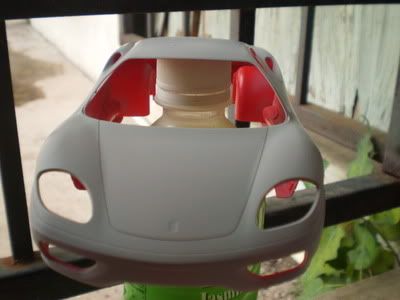
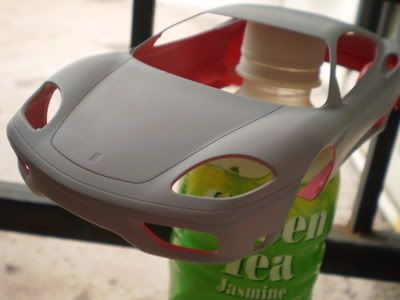
Primed and wet sanded ....

After rescribing ...

filling up the gap using Mori Mori (polyester putty)

Finalizing and wet sand with micro fine sanding sponge and give the kit a bath before priming


Primed and wet sanded ....
Work In Progress 1/24 Ferrari 360 Modena part2
SOME UPDATES
Once some people had asked, do we sand the entire kit?? Well, lightly sand your kit to spot flash and sink holes. Even a smooth kith as its limits. I was unable to spot any imperfection on this kit with bare eyes, using a micro fine sanding sponge to sand the car's body and found some flash.
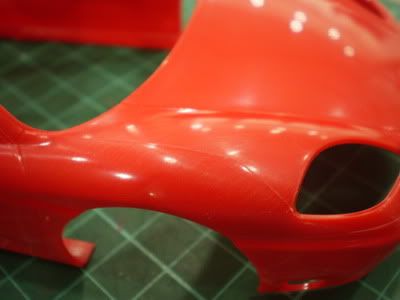
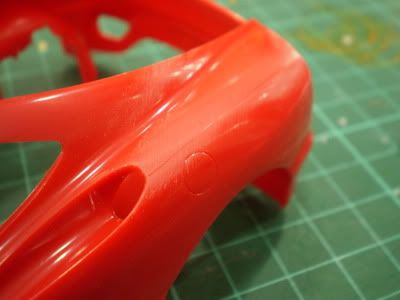
After light sanding
Next, the side signal light, is a bid hindering the compounding process in the upcoming paint job, so removed it, and will be drilling a 1.5 hole to insert one metal ball representing the signal lights on both sides.
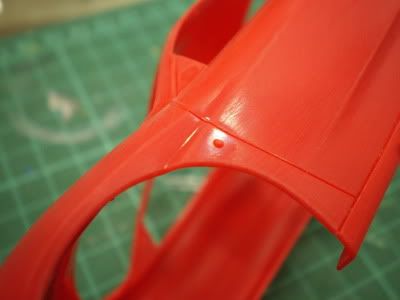
Semi circle is the signal light.
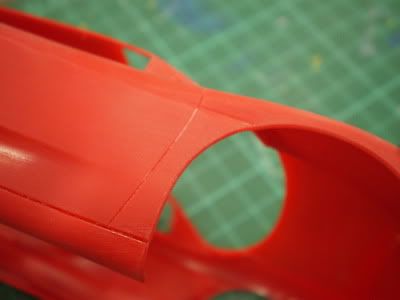
Left
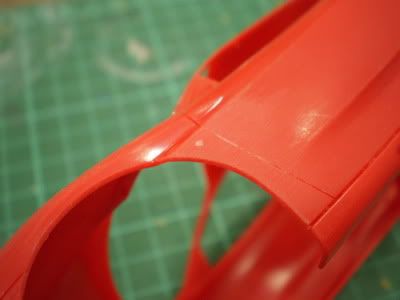
Right....a bit chipped while remove the semi circle will be able to fix it by putty
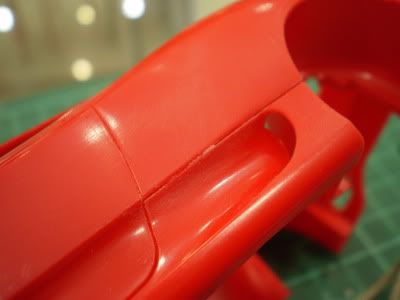
Attaching the side skirt is a bit hiccup ...The fitting doesn't fit so well, which leave an obvious gap
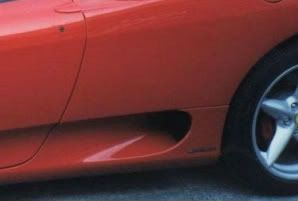
The real car looks like this
That would be all for today ....reached home will fix the gap and do somemore
Once some people had asked, do we sand the entire kit?? Well, lightly sand your kit to spot flash and sink holes. Even a smooth kith as its limits. I was unable to spot any imperfection on this kit with bare eyes, using a micro fine sanding sponge to sand the car's body and found some flash.


After light sanding
Next, the side signal light, is a bid hindering the compounding process in the upcoming paint job, so removed it, and will be drilling a 1.5 hole to insert one metal ball representing the signal lights on both sides.

Semi circle is the signal light.

Left

Right....a bit chipped while remove the semi circle will be able to fix it by putty
Attaching the side skirt is a bit hiccup ...The fitting doesn't fit so well, which leave an obvious gap


The real car looks like this

That would be all for today ....reached home will fix the gap and do somemore
Subscribe to:
Comments (Atom)


