UPDATES
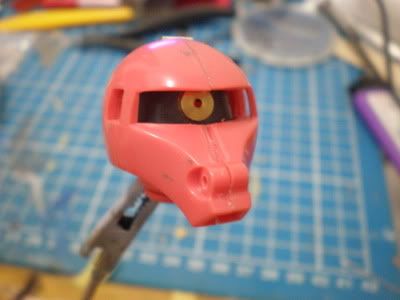
Just some small progress and as the process going southward, things are getting more complicated. The objective of having a higher mobility legs and waist requires a flexible lower torso modification and things are pretty not a good sight for old kits like this hopefully can pull this off nicely...

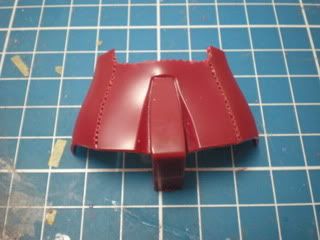
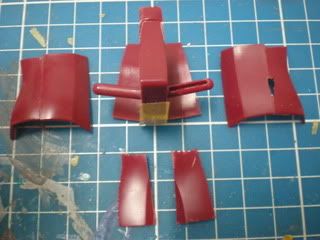
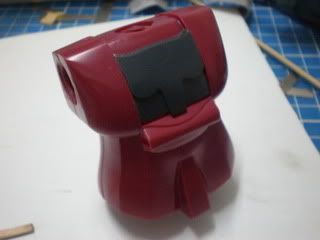
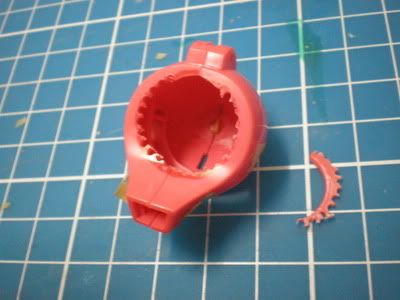
I figured, it would be best to do the lower torso first before doing the waist. Here the lower torso looks like . Hacked up into smaller pieces...then it is a case of " how to put humpty dumpty together again"
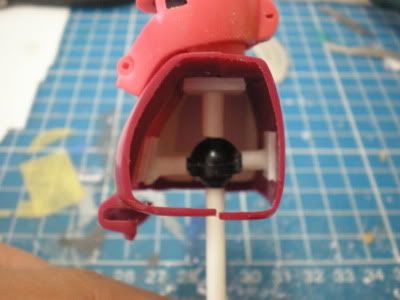
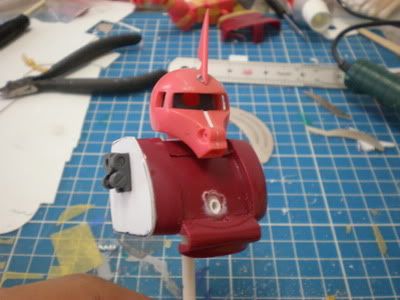
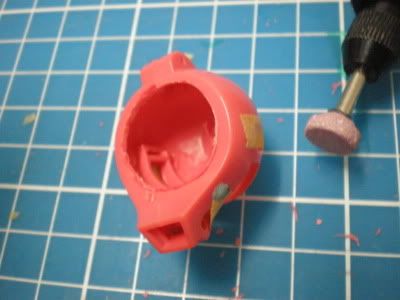
Took me an hour or so the SB the lower torso, and its definately need more refinement which leads to better detail thus the reaction will probably leads to the rest of the body detailing after I done the waist.
That would be a problem another day in the furure.

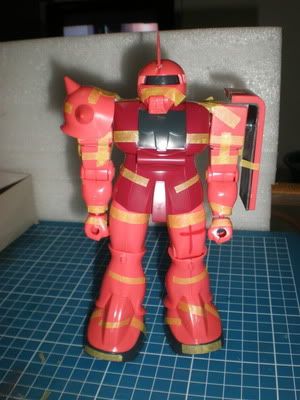
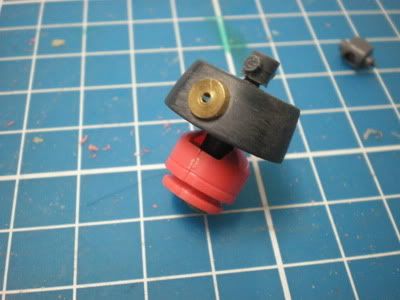
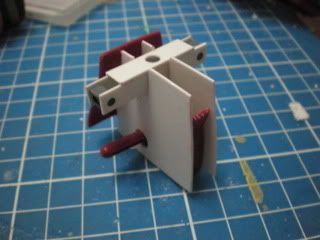
To make sure everything is a proportion, I usually will try to assemble thekit so see and jugde the overall outcome before going into the next mod.
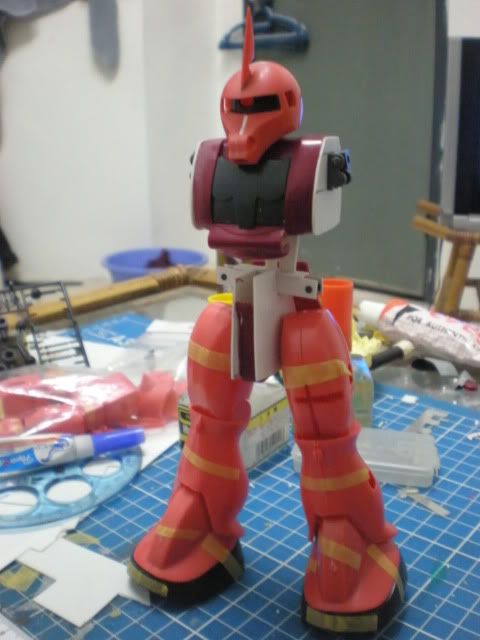
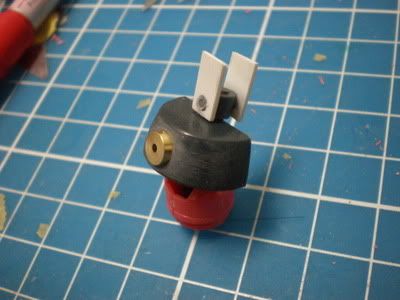
For the moment, its still can stand upright...which is a blessing..After taken this pic, camera battery is exhausted and I forgot to bring the charger, lolz...so for those who following this thread, might not get further updates for a few days until I get my charger from my house soon.
Have nice weekend and see you guys soon!!!!
Just some small progress and as the process going southward, things are getting more complicated. The objective of having a higher mobility legs and waist requires a flexible lower torso modification and things are pretty not a good sight for old kits like this hopefully can pull this off nicely...
I figured, it would be best to do the lower torso first before doing the waist. Here the lower torso looks like . Hacked up into smaller pieces...then it is a case of " how to put humpty dumpty together again"
Took me an hour or so the SB the lower torso, and its definately need more refinement which leads to better detail thus the reaction will probably leads to the rest of the body detailing after I done the waist.
That would be a problem another day in the furure.
To make sure everything is a proportion, I usually will try to assemble thekit so see and jugde the overall outcome before going into the next mod.
For the moment, its still can stand upright...which is a blessing..After taken this pic, camera battery is exhausted and I forgot to bring the charger, lolz...so for those who following this thread, might not get further updates for a few days until I get my charger from my house soon.
Have nice weekend and see you guys soon!!!!